How to Boot Without GPU – GPU-Free Booting Guide!
Booting a computer without a graphics processing unit (GPU) can be a necessary skill for many reasons. Whether you’re troubleshooting hardware issues, building a server, or simply curious about computer functionality, understanding how to boot a PC without a dedicated GPU is invaluable. This guide will explore how to accomplish this task, the scenarios where it might be useful, and what you need to consider in terms of hardware and software requirements.
Understanding the Basics: What is a GPU?
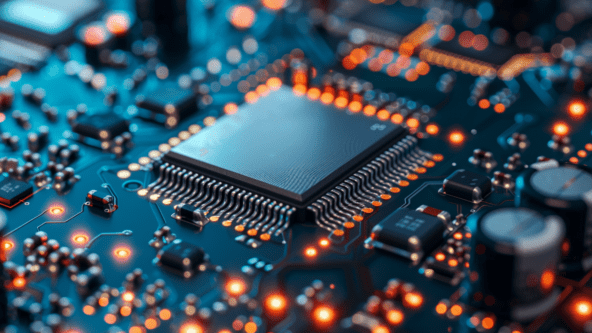
A GPU, or graphics processing unit, is a specialized processor designed to accelerate the rendering of images, videos, and animations. While a central processing unit (CPU) can handle graphics tasks, a GPU is specifically optimized for these processes, offering better performance for graphic-intensive applications like gaming, video editing, and 3D rendering.
Why Boot Without a GPU?
There are several reasons why you might need or want to boot a computer without a GPU:
- Troubleshooting: Identifying and isolating hardware problems can sometimes require removing the GPU to test other components.
- Cost Efficiency: In budget builds, especially for servers or systems that don’t require intensive graphics processing, forgoing a GPU can reduce costs.
- Energy Savings: Systems without a GPU consume less power, making them more energy-efficient.
- Space Constraints: Some form factors, like mini-PCs or micro-servers, may not have room for a dedicated GPU.
Prerequisites for Booting Without a GPU:
To boot a computer without a dedicated GPU, certain hardware requirements must be met:
Integrated Graphics
Modern CPUs often come with integrated graphics, which are built into the CPU itself. This feature allows the system to handle display tasks without needing a separate GPU. Before attempting to boot without a GPU, ensure that your CPU supports integrated graphics.
- Intel Processors: Many Intel CPUs come with Intel HD Graphics or Intel UHD Graphics.
- AMD Processors: AMD’s Ryzen processors often include Radeon Vega integrated graphics.
BIOS/UEFI Settings
Accessing the BIOS or UEFI firmware interface is crucial for configuring your system to boot without a GPU. You may need to adjust certain settings to enable integrated graphics or ensure that the system defaults to using them.
Also Read: Where To Sell Used Gpu – Discover GPU Marketplaces!
Compatible Motherboard
Your motherboard must support integrated graphics outputs. Check for HDMI, DisplayPort, DVI, or VGA outputs on the motherboard’s rear I/O panel, as these will be necessary to connect your display directly to the system.
How to Install an OS Without a Dedicated GPU
- Prepare Your Hardware
Turn off the computer and connect the monitor to the motherboard’s integrated graphics port. - Insert Installation Media
Place your OS installation USB or DVD into the appropriate drive. - Boot from Installation Media
Power on the computer, enter BIOS/UEFI, set the boot order to prioritize the installation media, and save changes. - Follow Installation Instructions
The OS installation screen will appear; follow the prompts to install the operating system. - Complete Installation and Reboot
After installation, remove the media and restart your computer to boot into the OS with integrated graphics.
Step-by-Step Guide to Booting Without a GPU:
Prepare Your System
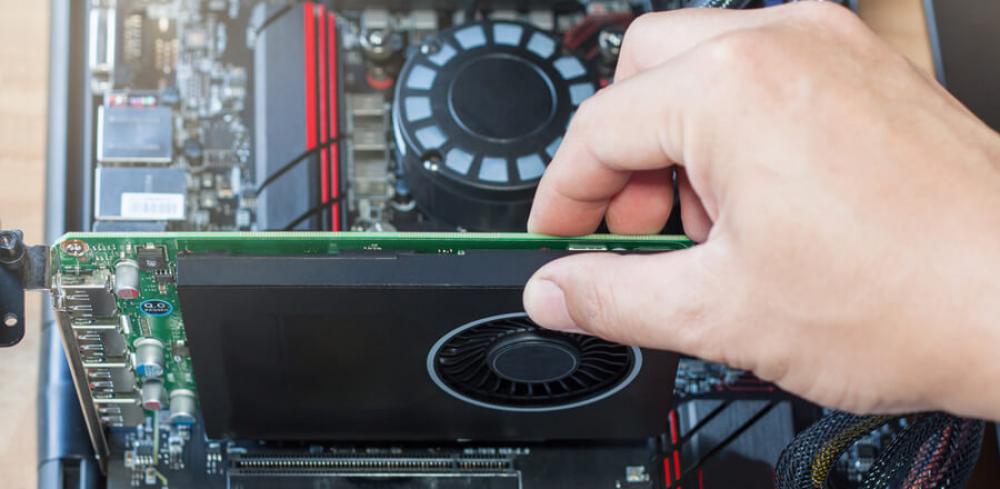
Before making any hardware changes, ensure that your computer is completely powered off and unplugged from the electrical outlet to avoid any risk of electric shock. Once the power is disconnected, carefully remove the side panel of your computer case, which will allow you to access the internal components of your PC.
Remove the Dedicated GPU (If Installed)
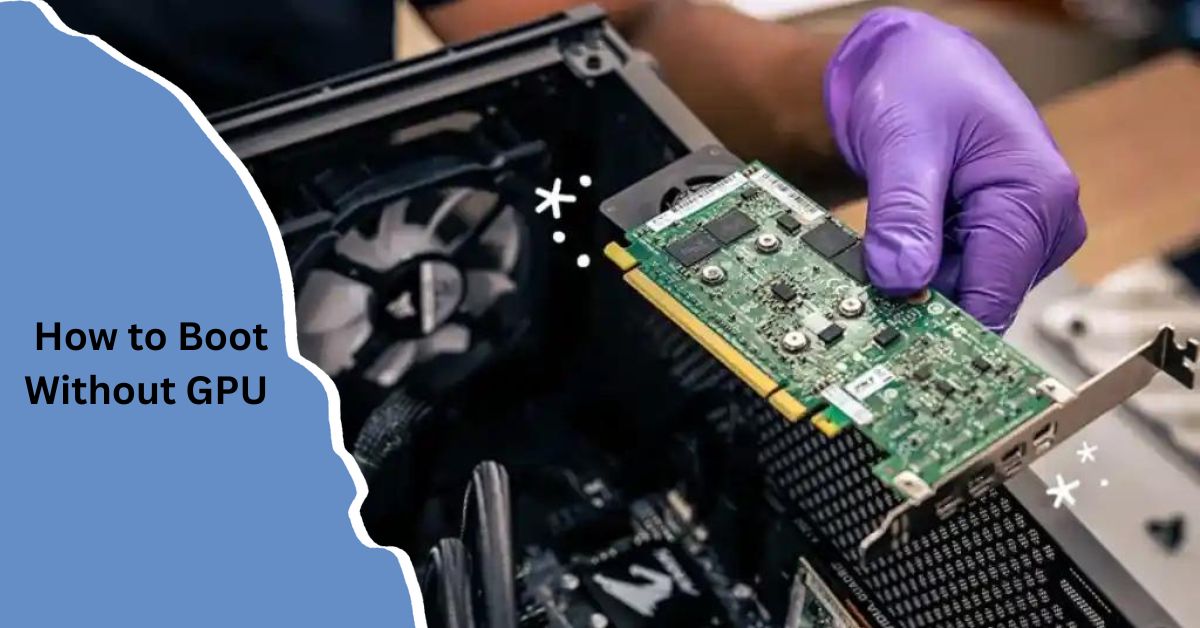
If your computer has a dedicated GPU installed, you will need to disconnect any power cables attached to it. These cables are usually found plugged into the GPU itself. After disconnecting the power, unscrew the GPU from its bracket and gently remove it from its PCIe slot.
Connect Your Monitor
With the GPU removed, you need to connect your monitor to the motherboard’s integrated graphics output. Locate the video output ports on the motherboard, which are typically found near where the GPU was installed.
Enter BIOS/UEFI
Turn on the computer and immediately press the BIOS/UEFI access key to enter the setup utility, then navigate to configure the graphics settings to ensure integrated graphics are enabled or set as the primary display adapter.
Save and Exit
Once you have configured the BIOS/UEFI settings, make sure to save any changes you have made. This is typically done by selecting the “Save Changes and Exit” option from the BIOS/UEFI menu. After saving, exit the BIOS/UEFI setup utility and allow your system to reboot. Your computer should now start up using the integrated graphics and function without the need for a dedicated GPU.
Common Challenges and Troubleshooting:
No Display Output
- Check Connections: Ensure all cables are properly connected between the monitor and motherboard.
- Verify BIOS Settings: Double-check that integrated graphics are enabled in the BIOS/UEFI.
- Test with Another Monitor: Sometimes, the issue might be with the monitor itself.
System Fails to Boot
- Reset CMOS: Try resetting the CMOS to default BIOS/UEFI settings by removing the motherboard battery for a few minutes.
- Check Power Supply: Ensure the power supply is functioning correctly and delivering adequate power to the system.
Use Cases for Systems Without a GPU:
Home Servers
Home servers, used for file storage, media streaming, or web hosting, typically do not require a dedicated GPU. Booting without one can reduce power consumption and noise.
Office Workstations
For tasks like word processing, spreadsheets, and browsing, integrated graphics provide sufficient performance, making dedicated GPUs unnecessary.
Development Environments
Developers working on coding, web development, or basic software testing can often rely on integrated graphics, reserving dedicated GPUs for more intensive tasks like machine learning.
Can all systems boot without a GPU?
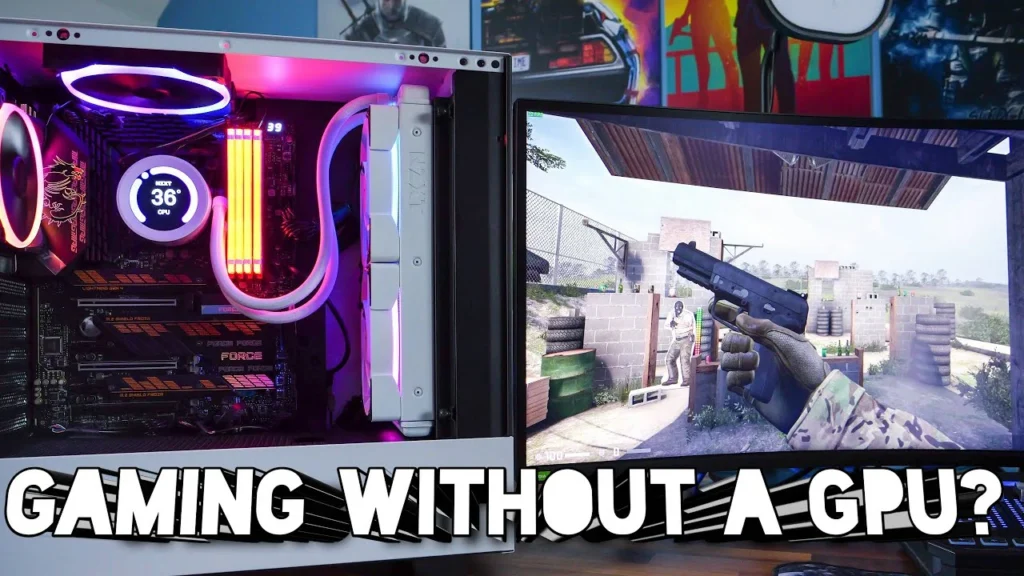
Not all systems can boot without a dedicated GPU. Whether a system can operate without a GPU depends on whether it has integrated graphics built into the CPU or motherboard. Systems with integrated graphics can boot and run without a dedicated GPU, while those relying solely on a dedicated GPU will not display anything if the GPU is removed
Exploring Alternatives to Dedicated GPUs:
If you find that integrated graphics aren’t sufficient for your needs, consider these alternatives:
- External GPUs: For laptops or systems with Thunderbolt support, an external GPU can provide enhanced performance.
- Upgrading Your GPU: If your budget allows, consider investing in a new dedicated GPU that meets your performance requirements.
- Cloud Gaming Services: Platforms like NVIDIA GeForce NOW or Google Stadia allow you to access high-performance gaming without a local GPU.
Maintaining Your System Without a GPU:
Even without a dedicated GPU, maintaining your system is crucial for optimal performance. Regularly update drivers, keep your system clean from dust, and perform routine checks on hardware components.
How to Boot Without GPU on Windows 10?
Turn off your PC and unplug it. Remove the dedicated GPU and connect your monitor to the motherboard. Power on the PC, enter BIOS/UEFI (press F2, F10, DEL, or ESC), and set integrated graphics as the primary display. Save changes and restart your PC.
Also Read: Amd Can Discord Crash My Gpu – A Comprehensive Guide!
Future-Proofing Your Setup:
To ensure your system remains capable of handling future demands, consider the following:
- Invest in a Quality Power Supply: A reliable power supply can support future upgrades, including a new GPU.
- Upgrade Your CPU: A more powerful CPU can improve overall performance, even if you’re using integrated graphics.
- Monitor System Performance: Use system monitoring tools to keep track of performance and identify any potential bottlenecks.
FAQ’s:
1. How to Boot Without a GPU?
To boot without a GPU, power off your computer, remove the GPU, and connect your monitor to the motherboard’s video output. Then, enter the BIOS/UEFI to set integrated graphics as the primary display, save changes, and restart the computer.
2. Is it possible to use a system without a dedicated GPU for gaming?
Yes, but performance will be limited compared to using a dedicated GPU. Integrated graphics can handle basic gaming but may struggle with more demanding titles.
3. Can I use a laptop without a dedicated GPU?
Yes, most laptops come with integrated graphics that allow you to use them without a dedicated GPU. However, performance in graphics-intensive tasks may be limited.
4. How do I reinstall drivers for integrated graphics?
Download the latest drivers from your CPU or motherboard manufacturer’s website, then follow the installation instructions. You can also use your operating system’s device manager to update drivers.
5. What are the limitations of using integrated graphics?
Integrated graphics typically offer lower performance compared to dedicated GPUs, which can affect gaming, 3D rendering, and video editing tasks. They also share system memory, which can impact overall performance.
6. Can I Use a USB Display Adapter to Boot Without a GPU?
Yes, you can use a USB display adapter to boot without a dedicated GPU, but it’s not the ideal solution. USB display adapters are typically used to add additional monitors rather than replace a missing GPU
Closing Remarks:
Booting without a GPU doesn’t have to be a challenge. By leveraging integrated graphics and following the steps outlined in this guide, you can maintain and troubleshoot your system effectively. Whether you’re dealing with hardware failures, budget constraints, or just exploring alternatives, understanding how to boot without a GPU ensures you’re well-prepared for any situation.
Read More:


Post Comment